A double-edge safety razor gives a closer, kinder shave than a cartridge — and once you've bought the kit, blades cost pennies. The catch is that DE shaving rewards technique: there's no pivoting head doing the thinking for you. This UK starter guide covers the kit you need, how to choose a razor, and a first-shave method that gets you a smooth result without nicks or razor burn.
The wet-shaving kit
Five things make up a traditional setup:
- Safety razor — the handle and head that hold a single double-edge blade.
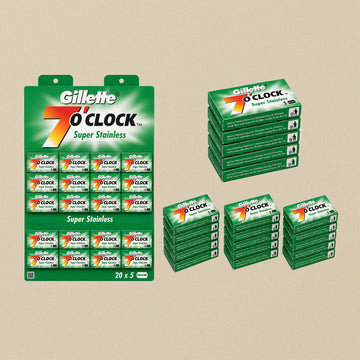
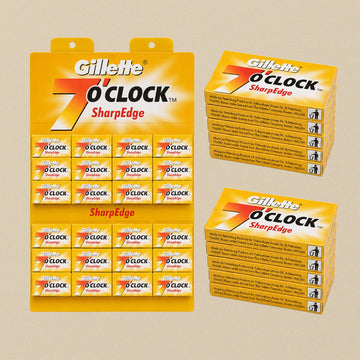
- Blades — inexpensive, replaceable, and worth sampling (see our blades guide below).
- Shaving brush — builds and applies a hydrating lather and lifts the hairs (see our brush guide).
- Soap or cream — a proper shaving soap or cream, not foam from a can.
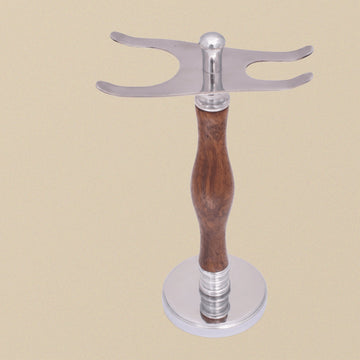
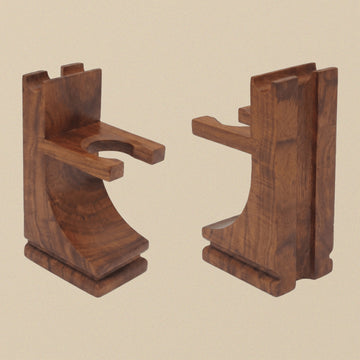
- Bowl and stand — a bowl or mug to build lather, and a stand to dry the razor and brush between shaves.
Choosing your first razor
For a beginner, the watchwords are "mild and balanced":
- Closed comb head — the safer, more forgiving choice for learning. Open combs are more aggressive and best left until later.
- Handle length and weight — a slightly longer, moderately weighted handle gives control and lets the razor's own weight do the work. Heavily knurled handles grip well in wet hands.
- Three-piece vs adjustable — a simple three-piece razor (handle, base plate, top cap) is robust, easy to clean and cheap; adjustables let you dial aggression as you improve.
If you've come from straight razors — or fancy trying one — see our companion guide on Damascus straight razors; the safety razor is the gentler place to start.
Building lather
Soak the brush, shake out the excess, then load it by swirling on the soap for 10–20 seconds. Build the lather in a bowl or on your face, adding tiny amounts of water until it's glossy and slick — not dry and airy. Good lather is what lets the blade glide; most beginner irritation is really under-hydrated lather.
The first shave, step by step
- Prep: shave after a shower, or press a warm damp towel to the face. Warm, hydrated hair cuts far more easily.
- Angle: rest the razor's head flat against your cheek, then tilt the handle out until the blade just engages — roughly a 30-degree angle. This is the single most important thing to learn.
- No pressure: let the razor's weight do the cutting. Pressing is what causes nicks and burn.
- With the grain first: shave in the direction the hair grows, in short strokes, re-lathering between passes. A second pass across the grain comes later, once you're comfortable.
- Rinse and care: rinse with cool water, pat dry, and apply a balm. Rinse the razor, shake it, and stand it on its stand to dry.
Aftercare and the razor itself
Rinsing and air-drying the razor on a stand prevents water sitting in the head and keeps both razor and blade in good order. Change the blade when it starts to tug rather than glide. With a stand, a bowl and a little practice, a single razor will serve you for decades.
Browse the shaving and barber range to put a kit together, and dig into blades and brushes in the guides below.