A good eyelash curler opens up the eye in seconds — no product required. A bad one, or a good one used badly, crimps lashes into a hard right-angle or, worse, pinches the lid. The tool is simple, but technique and upkeep are everything. This UK guide explains how a curler works, the difference between classic and partial designs, why the little rubber pad is the part that matters most, and how to get a clean curl every time.
How an eyelash curler works
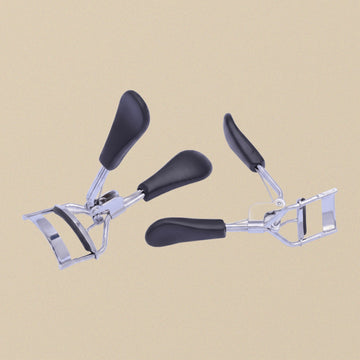
Squeeze the handles and two curved arms close: a metal frame presses the lashes against a soft silicone pad, bending them upward over the pad's curve. The pad is the unsung hero — it cushions the lashes so the metal never crimps or cuts them. A worn, flattened or split pad is the single most common reason curlers pinch or break lashes.
Classic versus partial curlers
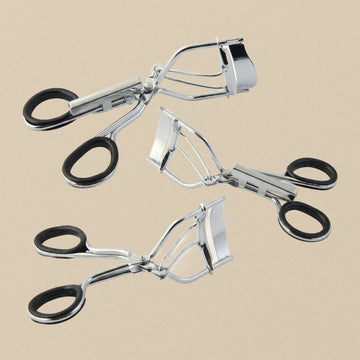
- Classic (full) curler — the familiar wide frame that curls the whole lash line in one go. The everyday choice for most people and salons.
- Partial / mini curler — a narrow frame for the outer or inner corners, hard-to-reach lashes, hooded eyes and monolids. Many makeup artists carry both: the classic for the main line, the mini for corners.
Frame shape matters too. A more open, rounded frame suits prominent or round eyes; a flatter frame suits closer-set or hooded eyes. If a classic curler always seems to miss your corners, a partial curler usually solves it.
Manual versus heated
A well-made manual curler gives a strong, lasting curl and total control, which is why it remains the professional standard. Heated curlers (and heated wands) give a softer, more natural lift and can be gentler on very straight or stubborn lashes, but they're a supplementary tool rather than a replacement.
What to look for
- Smooth, sprung hinge with even pressure across the frame — uneven pressure curls some lashes and skips others.
- Quality silicone pad and, ideally, replacement pads supplied so you can refresh it rather than bin the curler.
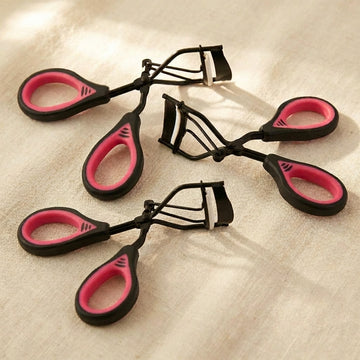
- Comfortable, grippy handles and a frame width that matches your eye shape.
How to curl, step by step
- Always curl before mascara — curling over dried mascara glues lashes to the pad and snaps them.
- Open the curler, look down into a mirror, and position it at the very base of the lashes without catching the lid.
- Squeeze gently and hold for a few seconds. Then "pump" — release slightly, move a fraction toward the tips, and squeeze again. Two or three light pumps give a soft, rounded curve.
- Never yank the curler away while it's closed. Open fully first, then lift clear.
Care and replacement
Wipe the pad and frame after use to remove oils and product. Replace the silicone pad the moment it shows a flat spot, a groove or a split — pads are cheap, lashes are not. In a salon, sanitise the frame between clients and use a fresh or sanitised pad. A quality curler frame lasts for years; you simply renew the pad.
Browse our eyelash curlers, and explore the rest of the eye, brow and lash range in the guides below.